As I brush up on the basics of DIY painting, I can’t help but feel like a blank canvas waiting to be transformed. In this guide, I will share essential tips to help you tackle your painting projects with confidence. From choosing the right paint colors to mastering proper application techniques, we’ll cover it all. Discover how to achieve smooth and even coverage, avoid common mistakes, and handle difficult surfaces and textures. We’ll also discuss the importance of preparing your surfaces and maintaining your painted areas for long-lasting results. So grab your paintbrush and let’s dive into these essential DIY painting tips. Let the creativity flow!
Choosing the Right Paint Colors
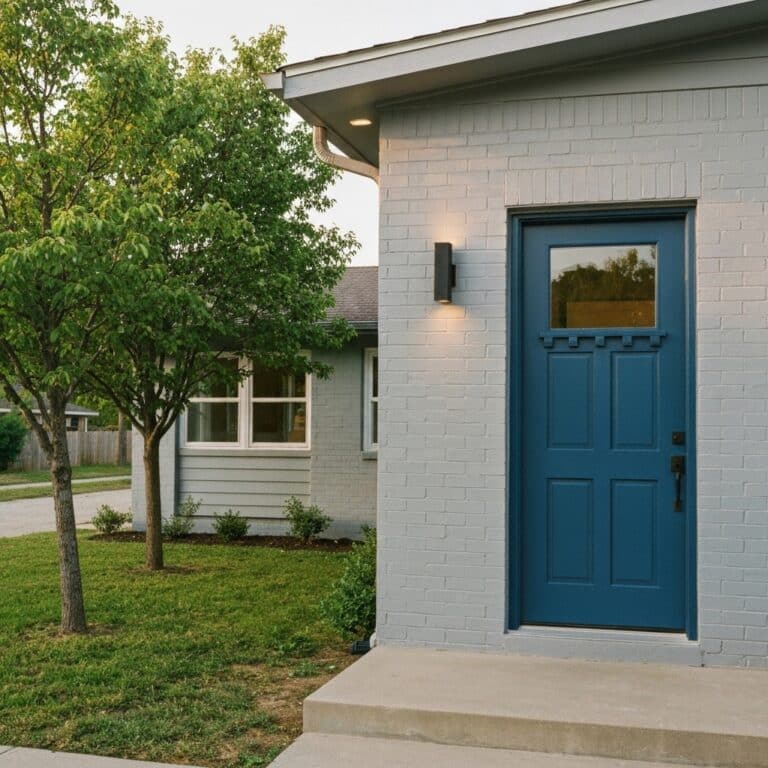
In this article, I will guide you through the process of choosing the right paint colors for your DIY painting project. When it comes to painting, selecting the perfect color can make a significant impact on the overall look and feel of a space. To begin, it’s essential to understand the different paint finishes available. Matte finishes provide a smooth and velvety appearance, while semi-gloss finishes offer a slight sheen and are easy to clean. Understanding color psychology is also crucial. Warm colors like red and yellow can create a cozy and inviting atmosphere, while cool colors like blue and green evoke a sense of calmness and tranquility. By considering both paint finishes and color psychology, you can make informed choices that will enhance the aesthetic appeal of your home.
Essential Painting Tools and Materials
What tools and materials do I need for a DIY painting project? When it comes to painting, having the right tools and materials is essential for a successful project. First and foremost, it is important to prioritize painting safety precautions. This includes wearing protective clothing, such as goggles and gloves, to avoid any potential harm from paint splatters or fumes. In terms of tools, you will need paintbrushes and rollers of various sizes to ensure smooth and even coverage. A drop cloth or plastic sheeting is also necessary to protect your floors and furniture from any accidental spills. Additionally, it is important to have a sturdy ladder or an extension pole for reaching high areas, especially when painting ceilings. By having these essential tools and materials, you can tackle your DIY painting project with confidence.
Preparing Your Surfaces for Painting
When it comes to preparing surfaces for painting, there are a few key points to keep in mind. First, thorough surface cleaning techniques are essential to ensure proper paint adhesion. Additionally, it is important to apply the necessary priming steps to create a smooth, even surface for the paint to adhere to. Lastly, any damaged areas should be repaired before painting to ensure a professional-looking finish.
Surface Cleaning Techniques
To achieve a flawless paint job, thorough surface preparation is essential, beginning with the diligent application of a surface cleaner. Before starting any painting project, it is crucial to ensure that the surfaces are clean and free from dirt, grime, and debris. A surface cleaner can effectively remove any grease or oil buildup, allowing for better paint adhesion. Additionally, it is important to remove any old paint that may be peeling or flaking. This can be done using a scraper or a wire brush, depending on the surface material. By properly preparing the surfaces, you can ensure that the paint will adhere properly and that the final result will be smooth and long-lasting.
Necessary Priming Steps
Before painting, I always make sure to thoroughly prime my surfaces with a high-quality primer to ensure optimal paint adhesion and a smooth, long-lasting finish. One crucial step in the priming process is proper sanding. Sanding helps remove any imperfections or roughness on the surface, allowing the primer to adhere better. Start by using a fine-grit sandpaper to gently sand the surface in a circular motion. Make sure to wipe away any dust or debris before applying the primer. Now, let’s talk about the importance of primer. Primer serves as a base coat that helps the paint adhere to the surface more effectively. It also helps to seal the surface, preventing any stains or bleed-through. Additionally, primer provides a smooth and uniform surface for the paint, resulting in a professional-looking finish. Taking the time to prime your surfaces before painting ensures better adhesion and a longer-lasting paint job.
Repairing Damaged Areas
After assessing the condition of my surfaces, I address any damaged areas before starting the painting process. First, I focus on repairing drywall. I use joint compound to fill in any cracks or holes, making sure to smooth it out with a putty knife. Once it dries, I sand it down until it is level with the surrounding wall. For fixing wood scratches, I start by cleaning the area with a soft cloth and mild soap. Then, I use a wood filler that matches the color of the wood to fill in the scratch. After it dries, I sand it down and apply a coat of primer before painting. Taking the time to repair these damaged areas ensures a smooth and professional-looking finish.
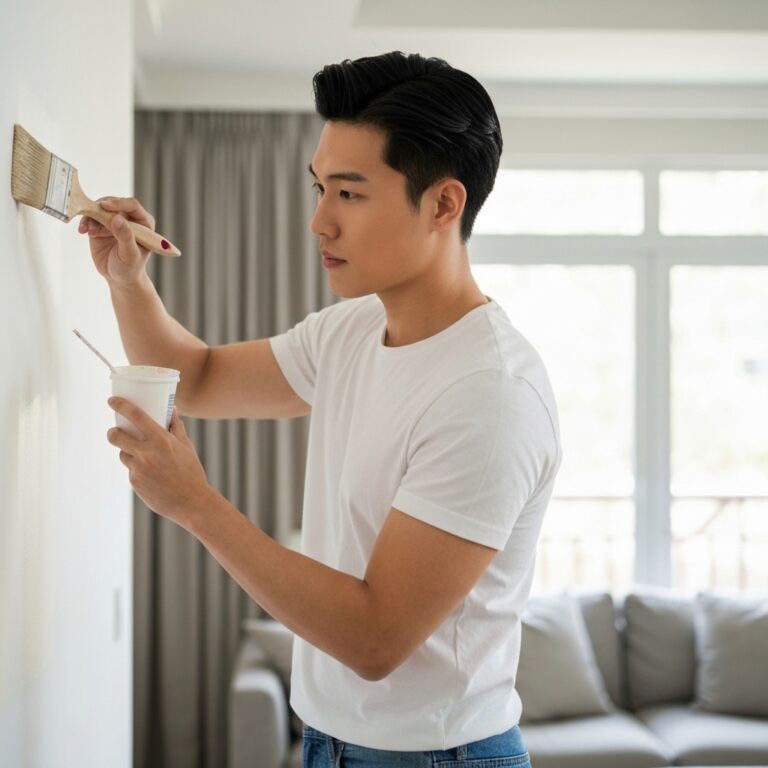
Proper Paint Application Techniques
I prefer using a high-quality brush to ensure smooth and even paint application. Before applying the paint, it is important to properly prepare the surface by using sanding techniques. This helps to remove any imperfections and create a smooth and even surface for the paint to adhere to. After sanding, it is crucial to wait for the paint to dry completely before applying additional coats. This ensures that each layer of paint adheres properly and prevents any smudging or smearing. The drying time can vary depending on the type of paint and environmental conditions, so it is important to follow the manufacturer’s instructions. By using proper sanding techniques and allowing sufficient drying time, you can achieve a professional-looking paint finish.
Tips for Achieving Smooth and Even Coverage
To achieve a smooth and even coverage, I recommend using a high-quality brush for painting. A good brush will help you achieve seamless results by distributing the paint evenly and smoothly. When using the brush, make sure to load it with an appropriate amount of paint and apply it in long, even strokes. This will help prevent visible brush strokes and create a more professional finish. If you notice any brush strokes or unevenness in the paint, you can try smoothing them out by lightly going over the area with a dry brush. Additionally, choosing the right type of paint can also contribute to achieving a smooth and even coverage. Opt for a high-quality paint that is specifically formulated for the surface you are painting to ensure the best results.
Avoiding Common Painting Mistakes
While it is important to follow proper techniques for achieving a smooth and even coverage, avoiding common painting mistakes is equally crucial. Common paint problems can ruin the overall look of your project and make all your hard work go to waste. One of the most common mistakes is failing to properly prepare the surface before painting. This can lead to issues such as peeling, cracking, or uneven finish. Another mistake to avoid is using low-quality paint or tools. Investing in high-quality paint and brushes will ensure better coverage and a more professional-looking result. Lastly, rushing the painting process can also lead to mistakes. Take your time, use even strokes, and allow proper drying time between coats for the best outcome. By avoiding these common painting mistakes, you can achieve professional-looking results and be proud of your DIY project.
Handling Difficult Surfaces and Textures
Dealing with challenging surfaces and textures can be a daunting task for DIY painters. When it comes to painting textured walls, it’s important to choose the right tools and techniques. One effective technique is to use a roller with a thicker nap to ensure even coverage on the textured surface. Start by applying a primer to help the paint adhere better. Then, use a brush to cut in around the edges and corners before using the roller for the rest of the wall.
When it comes to painting on metal surfaces, there are also specific techniques to follow. Firstly, ensure that the surface is clean and free of rust or corrosion. Use a wire brush or sandpaper to remove any loose paint or debris. Next, apply a primer that is specifically designed for metal surfaces. Finally, use a high-quality paint that is formulated for metal to achieve a smooth and durable finish. By following these techniques, you can confidently tackle difficult surfaces and textures in your DIY painting projects.
Cleaning Up and Maintaining Your Painted Surfaces
After successfully painting difficult surfaces and textures, the next step is cleaning up and maintaining your newly painted surfaces. When it comes to maintaining painted furniture, regular dusting with a soft cloth or feather duster can help keep the finish looking fresh. Avoid using abrasive cleaners or harsh chemicals as they can damage the paint. For cleaning painted walls, a gentle solution of mild dish soap and warm water can be used. Start by wiping down the walls with a soft sponge or cloth, making sure to remove any stains or dirt. Be careful not to scrub too hard, as this can remove the paint. Once the walls are clean, rinse them with plain water and pat dry with a clean cloth. Regular maintenance and gentle cleaning will help preserve the beauty of your painted surfaces for years to come.
Conclusion
In conclusion, by following these essential DIY painting tips, you’ll become a painting expert in no time! With the right paint colors, tools, and techniques, you can achieve smooth and even coverage on any surface. Say goodbye to common painting mistakes and hello to beautifully painted surfaces that are easy to clean and maintain. So get ready to brush up on your skills and transform your home with a fresh coat of paint!