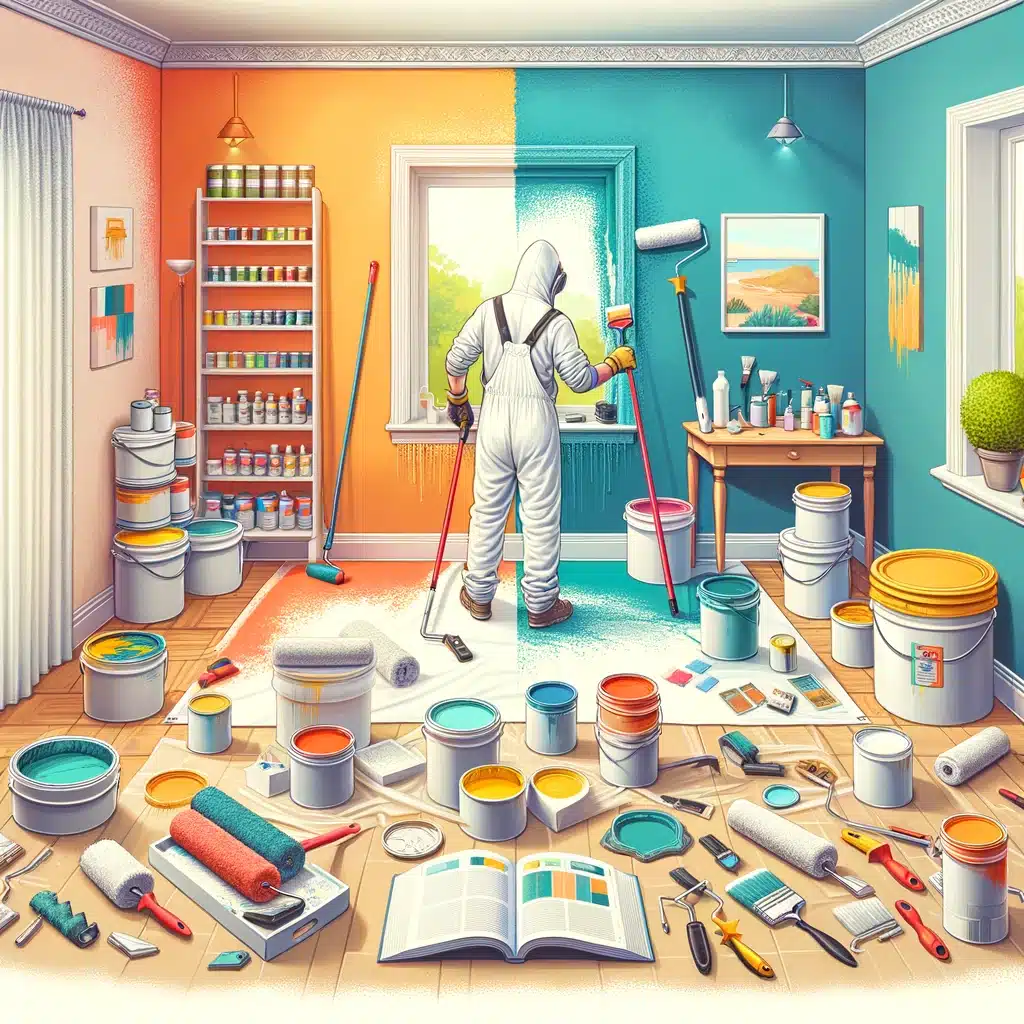
Painting the interior of your home can feel like an intimidating project, but with the proper supplies, techniques, and a dash of creativity, even novice DIYers can transform any space. Equipping yourself with high-quality brushes, rollers, primers, paints, and protective gear lays the foundation for success. Understanding essential preparation methods like sanding, filling holes, masking surfaces, and setting up adequate ventilation keeps the process smooth from start to finish. Mastering application techniques both with brushes and rollers takes some practice, but leads to flawless finishes. And learning how to catch and address common paint imperfections prevents minor mistakes from becoming major headaches.
With a well-stocked toolkit, safety-first mindset, helpful step-by-step guidance, and a little patience, you can unlock professional-grade paint jobs that elevate the aesthetic of any room. This comprehensive guide breaks down recommended gear, offers actionable tips for planning and problem-solving, and builds confidence for tackling painting tasks independently. Transform that outdated wall color or flawed surface into a vibrant showpiece you can proudly display. Let’s explore the secrets of successful DIY painting from prep to execution and get started on your most inspired project yet!
Selecting Painting Supplies for a Flawless Finish
The right painting tools allow for efficient application across all surfaces, neat precision work, and uniform coverage from edge to edge. Investing in quality brushes, rollers, trays, and accessories tailored to your specific project saves hassle down the line. Consider these essential gear recommendations before visiting the hardware store:
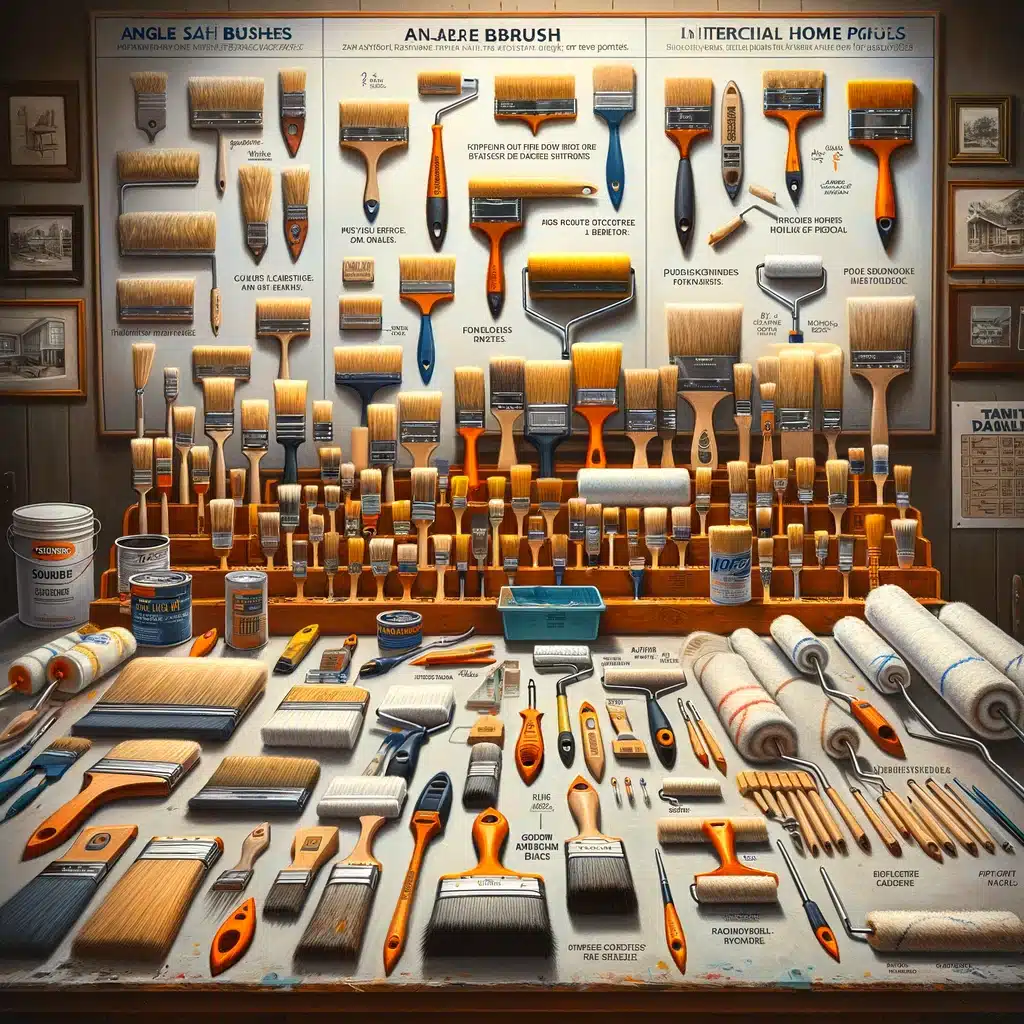
Brushes and Rollers: Choosing the Right Paint Application Tools
Paintbrushes remain indispensable for detail work like borders and trim. Look for versaility in sizes ranging from one to three inches wide, with combinations of natural bristle and nylon blends. Softer bristles hold more paint while firmer ones create smoother finishes. Extend useful life by cleaning thoroughly after each use. Rollers handle broad wall application. Choose size and nap thickness based on surface texture – smoother walls only require 1/4 or 3/8 inch nap while more porous surfaces benefit from a thicker 3/4 inch cover. Other handy specialty tools include angle sash brushes for cutting crisp edges and stain pads for applying finishes.
| Painting Tool | Best Suited For |
|---|---|
| Natural Bristle Brushes | Oil-based paints, stains and finishes |
| Nylon or Polyester Bristle Brushes | Latex and acrylic paints |
| Foam Rollers | Smooth drywall and plaster walls |
| Microfiber Rollers | Semi-smooth and lightly textured surfaces |
| Thick Nap Rollers | Heavily textured, stucco or acoustic walls |
Primers and Paints: Picking Products for an Even Base Layer
Primers create uniformly sealed foundation for paints. On new drywall, drywall primer binds surface chalkiness so topcoats go on smoothly. For color changes, tintable primers aid hide existing hues. Oil based primers excel filling exterior wood grain but require mineral spirits for cleanup. Water based latex primers suffice for indoor jobs. When selecting finishes, consider sheens from flat matte to high-gloss. Lower sheen hides imperfections on patching jobs while higher sheen make bold statements in showcase spaces like kitchens. Buy 40-50% more paint than supposedly needed to avoid mismatching custom tints later.
Dropcloths and Masking Tape: Protecting Surfaces with Barriers
No painting job stays neatly within intended boundaries without containment aids. Canvas dropcloths protect floors and furniture from spills and splatters during roller work and brush loading. Adhere wide masking tape to baseboards, window frames, light fixtures and any immobile varnished wood elements neighboring your paint zone before beginning work. Apply tape cleanly by burnishing firmly after fixing in place to prevent bleed under the edges. Remove tape as soon as possible following the final coat. Allowing adhesive to remain in contact too long risks bonding damage when peeled up.
Ladders and Lighting: Accessing All Areas Safely
Propper scaffolding prevents injury while working extended hours overhead often required during painting jobs. Stepladders serve basic room-height tasks but straight and extension options provide necessary height for ceilings without needing to overextend from an unsteady perch. Set ladders at proper 75 degree angles, stabilize feet, and avoid overreaching which compromises balance and control. Position ample overhead lighting or portable construction lights to eliminate shadows and fully assess application consistency. Harsh raking light highlights any unevenness. Task lighting also ensures you don’t miss spots working in corners or along borders by providing bright, even illumination across the entire paint zone.
Sandpaper and Spackle: Prepping Surfaces for a Smooth Paint Job
Proper sanding and filling creates the ideal base canvas before painting by smoothening rough areas and sealing damaged spots. Lightly sand glossy finishes to rough up the sheen so new paint adheres properly, then wipe away all dust with tack cloth. Use extra coarse 80 grit paper to heavily scuff varnished wood, medium 120 grit on drywall skim coats and fine 220 grit for minor smoothing between layers. Fill nail holes, cracks and gaps with lightweight spackling compound using a putty knife then gently sand flush when dried. Primer adhesion relies on a clean, unified surface so thoroughly address imperfections beforehand.
Safety Gear and Ventilation: Staying Safe While Painting
Paint fumes and accidental spills make safety considerations paramount. Wear goggles, dust masks and latex gloves while prepping and painting. Cover any exposed skin or wear dedicated painting clothes to avoid irritation from splattered materials. Open windows and run fans to keep air circulating and prevent buildup of chemical fumes, especially when using oil based products indoors. Consider wearing a dual-cartridge respirator mask when working intensively with solvent heavy materials like stains and varnishes. Keep an eye on ladder placement and toeholds to avoid trips or falls. Remind helpers and household members to exercise caution navigating workzones.
Paint Trays, Stir Sticks, and Openers: Equipping Yourself with Essentials
Fill prepainted trays for brush and roller loading convenience in your workspace. Disposable aluminum pans prevent lingering tint stains over repeated uses. Keep paint mixed to uniform consistency using long handled wooden stir sticks for accessing the bottom of cans. Power stirrers save labor on 5 gallons pails. Make sure previously opened paint hasn’t dried around lid edges before attempting to pry open with standard flat head driver. Use specialty leverage tools for stuck lids to avoid dangerous slips or splattering liquid.
Rags, Towels and Cleaners: Tidying Up Efficiently After Painting
Stock up on soft cloths and paper towels for wiping drips promptly and cleaning equipment immediately after painting. Allowing rollers, brushes and trays to dry with residual paint ruins future performance. Follow manufacturer guidance on proper soap dilutions or chemical solvents for breaking down acrylic latexes versus oil based coatings when cleaning. Soak brushes overnight in water filled containers to restore bristle shape before final rinse and let drip dry on suspended rod or edge rather than sitting base flat on a surface. Reuse stain rags only for same product unless safely laundered to prevent chemical cross contamination fire hazards.
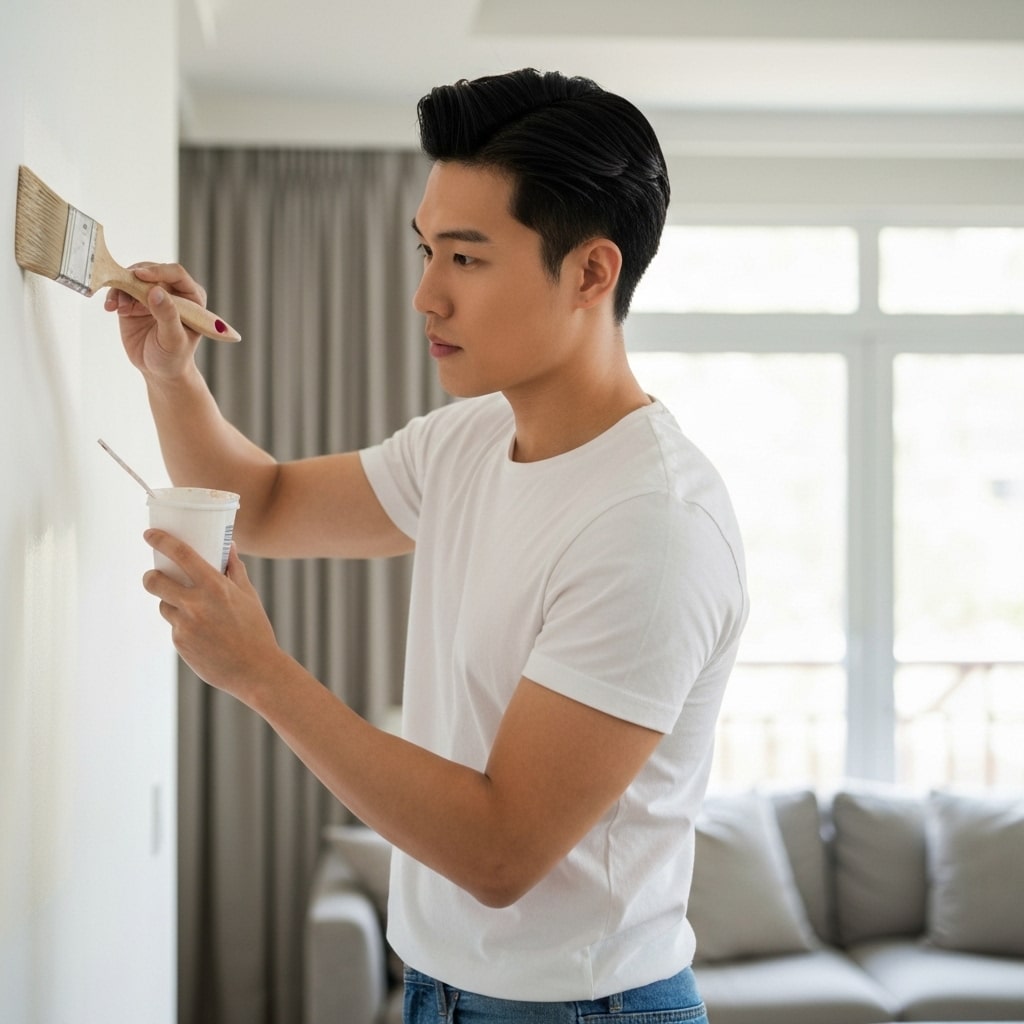
Technique Tutorials: Mastering Paint Application Methods
Patience and practise creates impressive paint mastery. Build skill through small test patches on cardboard before tackling full wall spaces. Let’s review essential application tips for achieving flawless finishes with brushes and rollers.
Brushing Basics
- Load generous pool of paint toward base of bristle edge, then distribute evenly through combing and tapping motions against tray ridge
- Maintain consistency wet edge by brushing back into painted areas; Avoid allowing edges to dry mid-job
- Use brush edges to cut crisp borders; angle top or side plane flat to surface steady hand
- Apply paint in direction of wood grain on trim; Use short, overlapping strokes; Backbrush after each section
Roller Techniques
- Cover entire roller sleeve evenly before starting walls
- Use up/down and sideways W shaped crosses to feather out thick edges
- Overlap roller passes 50% to build solid consistency, moving methodically top to bottom
- For final smoothing layer, finish with delicate up & down passes moving slowly
Practise creates intuitive rhythm for releasing product, controlling flow amounts and mastering stroke styles for flawless finished texture.
Fixing Paint Imperfections: Troubleshooting Common Issues
Don’t panic over minor mishaps! Many common paint problems prove preventable with attention and technique adjustments. But if flaws emerge, act promptly using appropriate remedies for quality results. Here are solutions for frequent snags:
| Paint Issue | Likely Causes | Corrective Measures |
|---|---|---|
| Drips or Runs | Overloading paint above absorption capacity | Wipe promptly before drying using clean cloth |
| Brush Marks or Streaks | Insufficient overlapping between strokes | Roll gently up/down passes to blend sections |
| Lint or Dust Specks | Debris exposure between coats | Pick off raised globs; Smooth gently with 220 grit sandpaper after curing week |
| Flashing / Sheen Variation | Applying finish coat over unprimed patches or putty | Ensure repairs are fully primed first for uniform porosity |
| Mold or Mildew Formation | Excess moisture exposure on exterior painted surfaces | Scrub affected areas with chlorine bleach solution; Allow drying completely before recoating |
Color and Sheen Selection: Coordinating Your Decor
Choosing dynamic colors and balanced sheens showcases a space at its best. Light, bright hues visually expand smaller rooms while rich shades make spacious areas feel more cozy. Determine an interior color journey moving through rooms which provides pleasing contrast without jarring transitions. Neutral backdrops allow accent walls or artwork to grab focus in style. Match sheens purposefully too – higher gloss on window trim prevents sticky friction when opening but overly shiny flats highlight surface imperfections. Seek balance of light reflection for truest color
Estimating Required Supplies: Planning Your Paint Quantities
Running short of primer or paint mid-project proves incredibly disruptive when dealing with custom color matching. Overbuying excess amounts also wastes money on unusable leftovers. Measure room dimensions accurately, calculate total wall areas, then consult manufacturer coverage rate charts which estimate realistic quantities needed for two finish coats. Budget 20% extra for cutting in edges and repeat passes over patched areas. Avoid skimping on prep supplies – extra sandpaper ensures uniformly dulled surfaces while surplus dropcloths, tape and brushes guarantee you can maintain momentum if replacements are needed when working longer jobs. Plan enough to finish without disruption.
Keeping Brushes in Good Condition: Extending Useful Life
Quality brushes represent significant investment easily compromised by improper maintenance. Prevent caking stiff paint layers with thorough post-use cleaning until water runs clear. Use brush comb to redistribute bristles locked out of shape while drying then store upright suspended to maintain shape. Don’t leave soaking long term or expose to freezing temperatures which deforms fibers. When cleaning oil products, finish with solvent rinse then handwash base with soap and water to remove lingering oily residue which shortens lifespan. Let air dry then tightly wrap in plastic sleeve to protect bristles between uses. With care, favorite brush will deliver like-new performance for years.
Speeding Up Drying Time: Returning Surfaces Back to Service
Applying two finish coats with proper overlap guarantees typical 4-6 hour dry time between recoating layers. But when painting cabinets, doors or high traffic areas, wait periods disrupt productivity. Control airflow circulation by positioning fans to create gentle breezes across painted areas which assists solvent evaporation. Maintain room temperature above 77°F allowing paint to cure faster through slightly warmer conditions. Use quick dry enamels compatible with thinning medium which accelerates leveling and hardening without compromising coverage. Lightly sand then wipe with tack cloth between speed coats removing any debris that could mar subsequent layers to ensure ideal adherence.
Selecting Painting Supplies for a Flawless Finish
For those seeking to test specialty painting tools before purchasing or requiring pro-grade equipment to handle extensive renovation work, consider renting items like power sprayers, roller extensions, wallpaper strippers or lift equipment. National Tool Hire Shops offers reasonably priced decorating equipment for weekend warriors and trade experts alike. Browse their inventory spanning common hand tools to heavy duty pneumatic systems at https://www.nationaltoolhireshops.co.uk/category/decorating-equipment-hire/
Conclusion: The Secret to Paint Project Success
With well-considered tools, safety preparations, application training and problem solving guidance now learned, home painting jobs appear more manageable. Breaking down key steps, techniques and recommendations into an actionable roadmap builds skill and confidence for all DIYers from rookie to veteran. Stock your supply kit with quality rollers, brushes, trays and specialty aids detailed earlier. Establish protected paint zones using masking tools and dropcloths. Address surface repairs through sanding, spackling and wiping debris. Study application guides to master both brush and roller maneuvers. Seek optimal lighting, ventilation and post-job cleaning routines. Understanding best practices leads to efficient, effective and satisfying results that meet – or even exceed – professional standards. Tackle that new paint project feeling equipped for excellence!
FAQ:
What type of paint finish should I use in bathrooms and kitchens?
For high-moisture rooms like bathrooms and kitchens, use mildew-resistant latex paints in satin or semi-gloss sheens – their durability resists staining and allows easy washing.
How do I achieve a smooth painted finish on concrete or brick?
Use a concrete etching solution or acid wash first to rough up the alkali surface, open pores and improve paint adhesion.
What causes paint to peel, crack or alligator outside?
Exterior paint film shrinking from exposure to moisture, sun and extreme temperature shifts leads to cohesive failures exhibited by peeling, cracking and alligatored textures which require full stripping and recoating.
Should I paint door hinges or remove them before starting?
Remove all hardware like doorknobs, hinges, switchplates and vent covers before painting for best coverage access and preventing splatters on metal pieces.
How long should I wait before applying a second coat of paint?
Follow recoat timing guidelines on paint manufacturer’s technical sheet, typically 4-6 hours between layers for latex and 8-12 for oil-based, allowing sufficient drying to prevent lifting, wrinkling or color variations.
What causes brush marks and how do I prevent them?
Overbrushing paint below its load capacity leaves streaks and laps which should be avoided by maintaining a wet edge and evenly distributing product.
Why does my paint have particles and look sandy?
Inadequate mixing of pigment sediments during application leads to grainy textures; remedy by straining thoroughly with a paint filter mesh before using.
How do I clean oil-based paints out of my brushes?
Begin with paint thinner to cut greasy residue, then wash brushes using hot, soapy water until they run clear.
Why is my painted wall still showing old colors coming through?
Insufficient priming over dramatically different colors, or issues like nicotine staining, require an intensive blocking primer for complete isolation before repainting.
How many gallons of paint are needed for a 10×12 bedroom?
Ten by twelve foot rooms with eight foot tall ceilings contain approximately 600 square feet of wall space. At 350 square feet per gallon coverage rate, you will need two gallons of paint assuming two finish coats.