I know what you’re thinking: “Stenciling and decorative painting? That sounds complicated and time-consuming.” But let me assure you, it’s easier than you think! In this guide, I’ll show you how to create beautiful patterns using stencils and decorative painting techniques. From choosing the right stencil design to sealing and protecting your finished masterpiece, I’ll walk you through each step of the process. With the right supplies and a little creativity, you’ll be amazed at what you can achieve. Whether you’re looking to add a personal touch to your home decor or want to explore a new artistic outlet, stenciling and decorative painting are accessible and rewarding hobbies. So, let’s dive in and start creating stunning patterns together!
Choosing the Right Stencil Design
When choosing a stencil design, I look for one that suits my personal style and complements the overall aesthetic of the space. Stencil design inspiration can come from various sources, such as nature, geometric patterns, or even vintage motifs. It is important to consider the size and scale of the design, as well as its complexity, to ensure that it will fit well within the intended space. Incorporating stencils into home decor allows for endless possibilities to customize and add unique touches to any room. Whether it’s a subtle border around a mirror or an eye-catching focal point on a wall, stencils can transform ordinary surfaces into statement pieces. By carefully selecting the right stencil design, I can create a cohesive and visually appealing look that reflects my personal style and enhances the overall ambiance of my home.
Essential Supplies for Stenciling and Decorative Painting
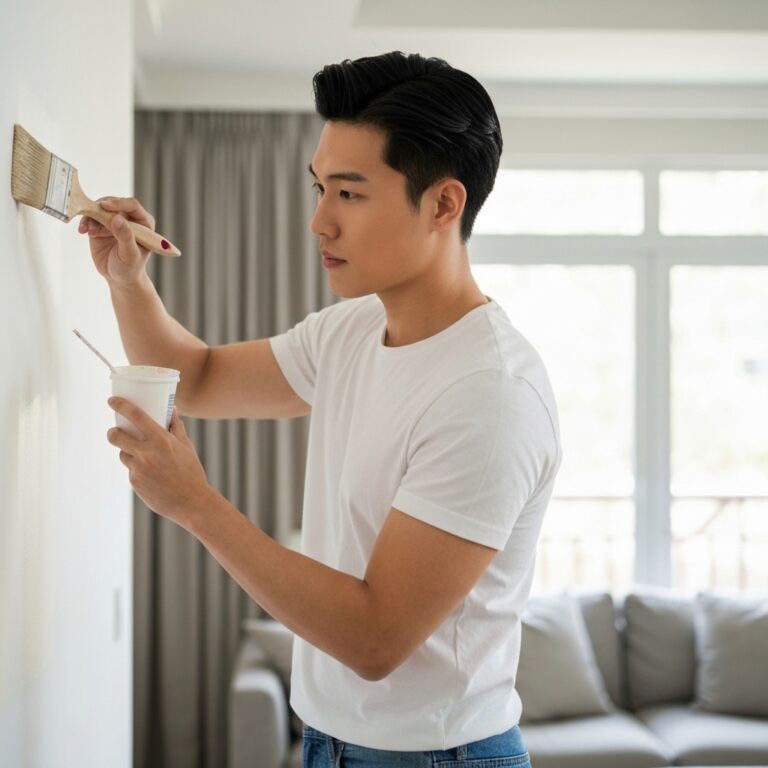
To begin stenciling and decorative painting, I gather my essential supplies. One of the most important supplies is stencil paint. There are various types of stencil paint available, such as acrylic paint, fabric paint, and spray paint. Each type has its own unique qualities and is suitable for different surfaces. Another essential supply is the stencil itself. There are different types of decorative stencils to choose from, including single-overlay stencils, multi-overlay stencils, and reverse stencils. Each type allows for different paint techniques and designs. Additionally, I make sure to have a good quality stencil brush or sponge brush for applying the paint, as well as painter’s tape and a ruler for securing the stencil in place and creating precise lines. With these essential supplies, I am ready to create beautiful patterns through stenciling and decorative painting.
Preparing and Priming Your Surface
After gathering my essential supplies, I begin preparing and priming my surface. Surface preparation is crucial for achieving a smooth and long-lasting finish. First, I thoroughly clean the surface to remove any dirt, dust, or grease. This ensures that the primer adheres properly. Next, I inspect the surface for any imperfections such as cracks or dents. I fill them in with a suitable filler and sand them down until they are smooth. Now comes the important step of applying primer. Primer acts as a base coat that enhances the adhesion of the paint and promotes its durability. It also helps to seal the surface and prevent any stains or discoloration from bleeding through. By taking the time to properly prepare and prime my surface, I am setting the foundation for a successful stenciling or decorative painting project.
Techniques for Stenciling and Decorative Painting
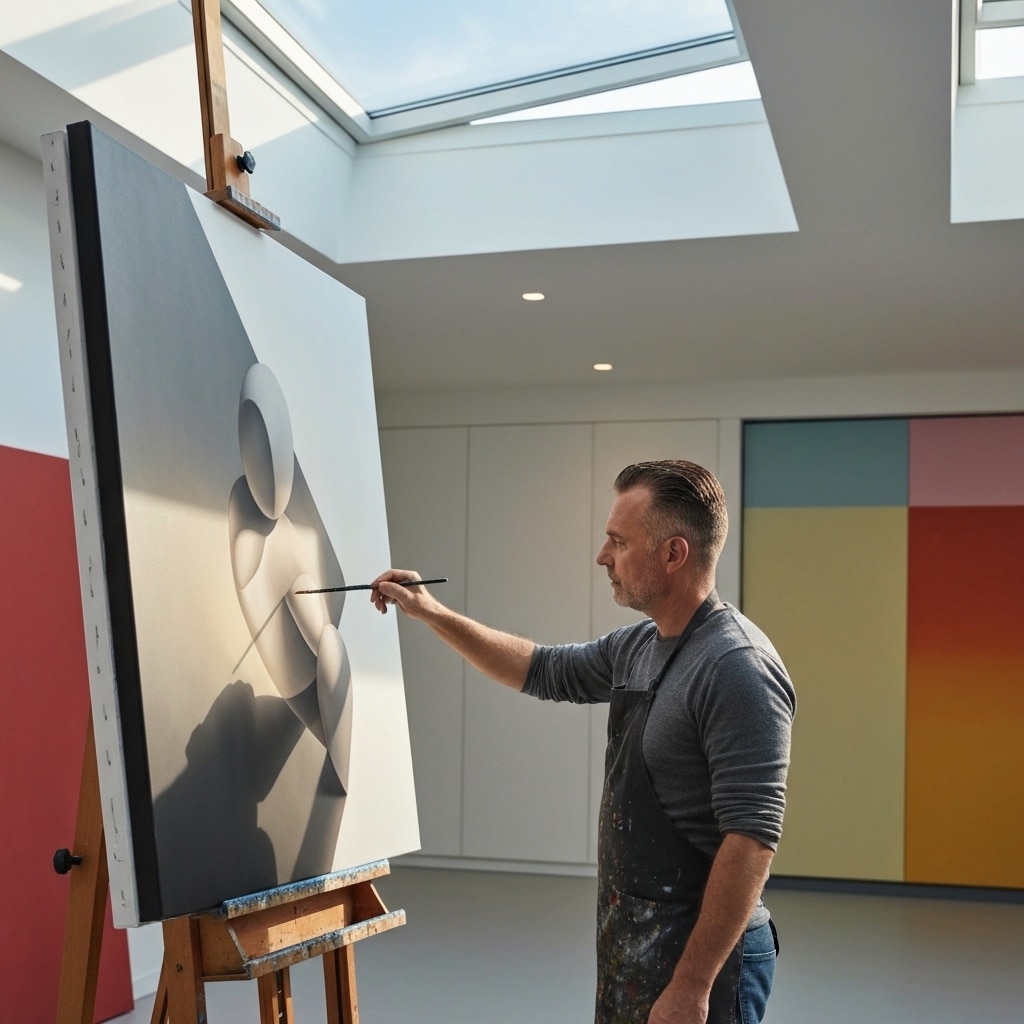
I experiment with various techniques to achieve unique and intricate designs in my stenciling and decorative painting projects. One technique I love to use is sponge painting. This involves dipping a sponge in paint and lightly dabbing it onto the surface, creating a textured and mottled effect. It adds depth and dimension to my designs, giving them a more organic and natural look. Another technique I enjoy exploring is faux finishes. With faux finishes, I can imitate the appearance of materials like marble, wood, or even metal, using different painting techniques and tools. It allows me to create the illusion of expensive and luxurious surfaces without the cost. These techniques, along with my creativity, help me achieve stunning and personalized results in my stenciling and decorative painting projects.
Finishing Touches: Sealing and Protecting Your Design
Once the design is complete, I seal and protect it using a clear varnish for a long-lasting and glossy finish. Sealing techniques are essential in preserving the integrity and longevity of decorative designs. By applying a protective coating, such as a clear varnish, I create a barrier that shields the design from damage caused by moisture, dirt, and UV rays. The varnish acts as a sealant, preventing the colors from fading and the design from peeling or cracking over time. Additionally, the glossy finish enhances the overall aesthetic appeal of the artwork, giving it a professional and polished look. It is important to choose a varnish that is specifically formulated for the type of surface and medium used in the design, ensuring optimal protection and durability.
Conclusion
As I put the finishing touches on my stenciling and decorative painting project, I couldn’t help but feel a sense of pride and accomplishment. The intricate patterns and vibrant colors brought life to my space, transforming it into a work of art. Just like a master artist, I carefully chose my stencil design and used various techniques to achieve the desired effect. Now, my creation is sealed and protected, ready to be admired by all who enter. It’s amazing what a little creativity and imagination can do.