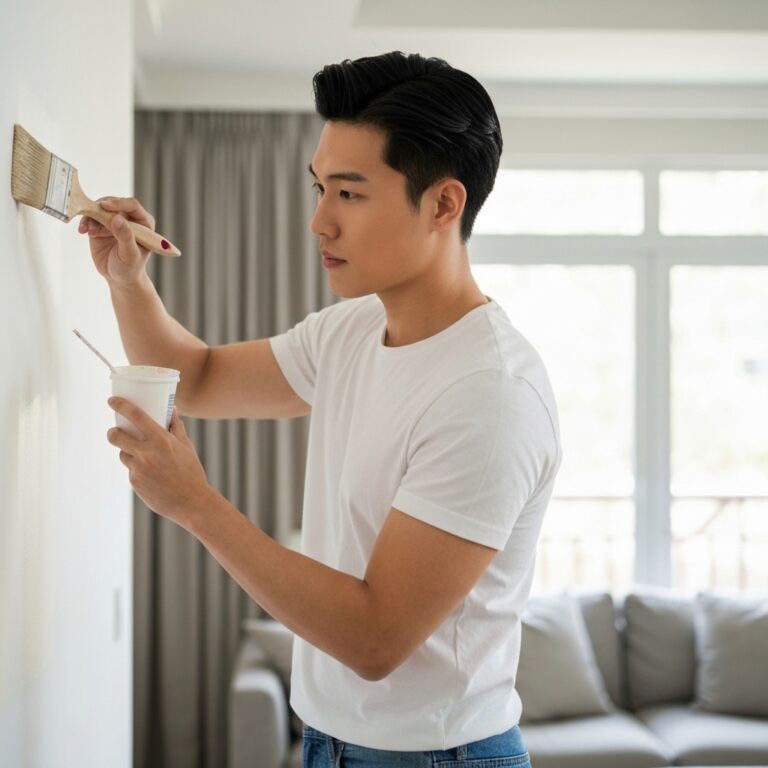
I know what you’re thinking – touching up paint can be a hassle, right? But trust me, with a few simple tricks, you can keep your paint looking fresh and flawless. Welcome to “Touch-Up Tricks: Keeping Your Paint Looking Fresh!” In this guide, I’ll share my personal tips and techniques for maintaining the pristine appearance of your painted surfaces. From choosing the right touch-up paint to blending it seamlessly, I’ve got you covered. Whether you’re dealing with small scratches or larger damages, I’ll show you how to fix them like a pro. Plus, I’ll share some maintenance tips to ensure your paint stays looking as good as new. Get ready to say goodbye to dull and faded paint – let’s keep it fresh!

Choosing the Right Touch-Up Paint
One important step in keeping your paint looking fresh is choosing the right touch-up paint. When it comes to touch up paint brands, there are several options available in the market. It is essential to select a reliable brand that offers high-quality paint. Look for brands that are known for their durability and color accuracy. Additionally, color matching techniques play a significant role in achieving a seamless touch-up job. Many touch-up paint brands offer color matching tools or services to help you find the perfect match for your existing paint. These techniques ensure that the touch-up paint blends seamlessly with the surrounding area, making any imperfections virtually invisible. By choosing the right touch-up paint and using color matching techniques, you can effectively maintain the fresh look of your paint.
Preparing the Surface for Touch-Ups
To ensure a successful touch-up, it is crucial to clean and prime the surface properly. By removing any dirt, grease, or debris, the touch-up paint will adhere better and blend seamlessly with the existing paint. Additionally, it is important to smooth out any imperfections, such as cracks or bumps, before applying the touch-up paint to achieve a flawless finish.
Clean and Prime Properly
To ensure an optimal touch-up, I always thoroughly clean and prime the surface before starting the painting process. Proper cleaning techniques are crucial to remove any dirt, grease, or grime that may affect the adhesion of the touch-up paint. I begin by wiping down the area with a mild detergent and warm water, using a soft cloth or sponge. For stubborn stains, I may use a gentle scrub brush. After cleaning, it’s essential to select the right touch-up paint for the job. I make sure to choose a paint that matches the existing color and finish. This ensures a seamless blend and a professional-looking result. Once the surface is clean and dry, I apply a primer to promote better adhesion and durability of the touch-up paint. Following these steps ensures a smooth and long-lasting touch-up.
Smooth Out Imperfections
I smooth out imperfections on the surface to prepare it for touch-ups using a sanding block. Sanding is an essential step in achieving a smooth and flawless finish. When using a sanding block, I apply gentle pressure and move it in circular motions to ensure even sanding. This technique helps to smooth out any rough patches or unevenness on the surface. After sanding, it is important to clean off any dust or debris before proceeding with the touch-up. Additionally, color matching is crucial for a seamless touch-up. I make sure to choose a paint color that closely matches the existing paint on the surface. This ensures that the touch-up blends in seamlessly and is virtually undetectable. By using proper sanding techniques and color matching, I can effectively smooth out imperfections and achieve a professional-looking touch-up.
Tools and Materials You’ll Need
One essential aspect of touch-up painting is having the right tools and materials at hand. When it comes to choosing the right paint color, it’s important to match it as closely as possible to the existing shade on your walls. This can be achieved by taking a small sample of the current paint and bringing it to a store that offers color matching services. Additionally, there are a few tips for achieving seamless touch-ups. First, make sure to clean the area thoroughly before starting. Then, use a small brush or a foam brush to apply the paint in thin layers, building up the coverage gradually. Finally, blend the edges of the touch-up area with the surrounding paint to create a seamless finish. With the right tools and these tips, your touch-up paint job will look fresh and flawless.
Tips for Blending the Touch-Up Paint
Achieving a seamless blend of touch-up paint requires careful attention to detail and a keen eye for color matching. When it comes to blending techniques, there are a few tips to keep in mind. First, start by cleaning the area you want to touch up and ensure it is dry before applying any paint. Next, use a small brush or sponge to apply the touch-up paint, starting from the center of the damaged area and working your way outwards. This helps to create a gradual transition between the old and new paint. It’s also important to feather the edges of the touch-up paint to blend it seamlessly with the surrounding area. Finally, let the paint dry completely before assessing the color match. If needed, you can always repeat the process until the touch-up paint blends perfectly with the original color.
Applying Touch-Up Paint to Different Surfaces
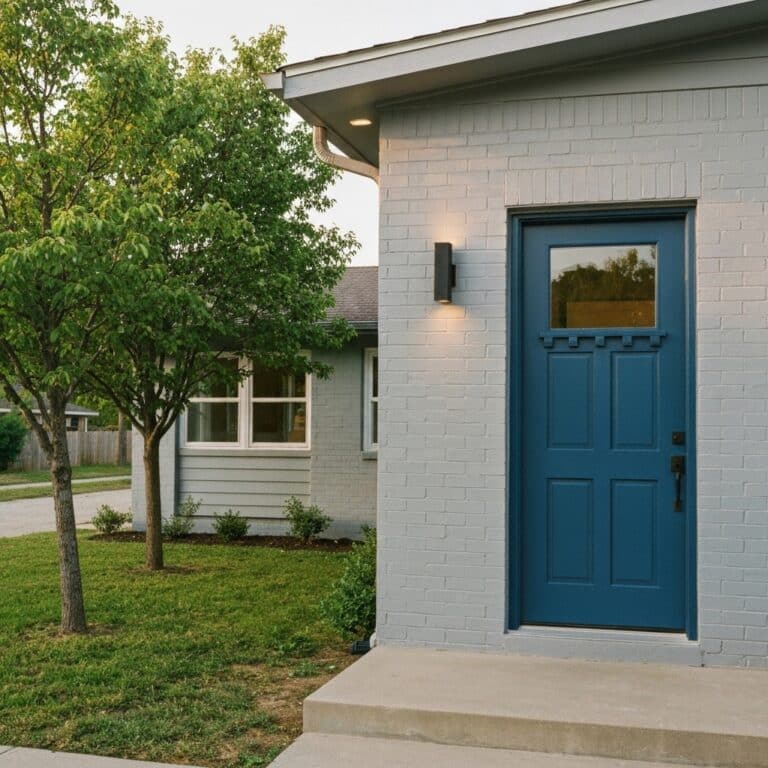
To ensure a successful touch-up paint job, it is important to understand how to apply the paint to different surfaces. One key aspect is color matching, which involves finding the right touch up paint shade for your surface. This can be achieved by either bringing a sample of the existing paint or using a color matching tool at a local paint store. Another challenge is applying touch-up paint to textured surfaces, such as textured walls or furniture. To effectively cover imperfections on these surfaces, it is recommended to use a small brush or sponge to dab the paint onto the textured area. This technique helps ensure that the paint blends well with the surrounding texture, providing a seamless touch-up.
Fixing Larger Damages With Touch-Up Paint
When fixing larger damages with touch-up paint, I recommend assessing the extent of the damage and determining the best approach for a seamless repair. Blending techniques and color matching options are essential for achieving professional-looking results. Blending techniques involve feathering the edges of the touch-up paint to blend it with the surrounding area. This helps to minimize the appearance of the repaired spot and create a more natural finish. Color matching options are crucial for ensuring that the touch-up paint matches the original color of the surface. This can be done by using color swatches or consulting with a professional paint specialist. By carefully assessing the damage, utilizing blending techniques, and exploring color matching options, you can effectively fix larger damages with touch-up paint and maintain the fresh look of your paint.
Maintenance Tips to Keep Your Paint Looking Fresh
To keep your paint looking fresh, there are a few maintenance tips to keep in mind. Regular cleaning techniques, such as dusting and wiping down surfaces, can help prevent dirt and grime from building up. Proper surface preparation, such as sanding and priming, is important before applying touch-up paint. And finally, knowing the right paint touch-up methods, such as using a small brush and applying thin layers, can help ensure a seamless blend with the existing paint.
Regular Cleaning Techniques
I regularly use a microfiber cloth to gently remove dirt and grime from the painted surfaces in my home, keeping them looking fresh and clean. Regular maintenance is key to preserving the appearance of painted walls and furniture. In addition to dusting and wiping down surfaces, it is important to tackle stubborn stains promptly. For tough stains, I create a simple cleaning solution by mixing warm water with a mild dish soap. Using a soft cloth, I gently scrub the stained area in a circular motion until the stain is lifted. It is important to avoid using abrasive cleaning tools or harsh chemicals, as they can damage the paint. By staying consistent with my cleaning routine and addressing stains promptly, I am able to maintain the fresh and clean look of my painted surfaces.
Proper Surface Preparation
To ensure a long-lasting and pristine paint finish, it is important to properly prepare surfaces before touching up. Surface preparation techniques play a crucial role in achieving a smooth and seamless touch-up paint job. Before starting any touch-up project, it is essential to clean the surface thoroughly, removing any dirt, dust, or grease. This can be done using a mild detergent and water solution, followed by a rinse and dry. Next, inspect the surface for any cracks, peeling, or flaking paint, as these areas will require additional preparation. Sanding the surface gently with fine-grit sandpaper can help create a smooth and even base for the touch-up paint. Finally, ensure that the surface is completely dry before applying the touch-up paint. By following these best practices for touch-up painting, you can achieve professional-looking results and maintain the fresh appearance of your paint for years to come.
Paint Touch-Up Methods
One effective method for maintaining the fresh appearance of your paint is by regularly touching up any imperfections. To do this, you will need a few paint touch-up tools and some knowledge of touch-up paint techniques. The first tool you’ll need is touch-up paint that matches the color of your walls or surfaces. This can usually be obtained from the manufacturer or a paint store. Other essential tools include a small paintbrush or a touch-up pen for applying the paint, as well as sandpaper for smoothing out any rough edges. When it comes to touch-up paint techniques, start by cleaning the area you want to touch up and ensuring it is dry. Then, carefully apply a thin layer of paint using the brush or pen, being careful not to apply too much. Allow the paint to dry completely before assessing if another layer is needed. Regularly touching up any imperfections will help keep your paint looking fresh and maintain the overall appearance of your home.
Conclusion
As I put the final brushstroke on my touch-up paint, I couldn’t help but feel a sense of accomplishment. Like an artist restoring a masterpiece, I had revived the beauty of my paint job. With the right touch-up paint and a little know-how, you too can keep your surfaces looking fresh and vibrant. So, grab your brush and let your creativity flow, for with a touch-up here and there, your paint will always be a masterpiece.