Welcome to “Faux Finishes Demystified: A How-To Guide,” where I’ll be your trusted companion on the journey to mastering the art of faux finishes. In this comprehensive guide, I’ll be sharing my knowledge and expertise on various faux finish techniques, equipping you with the essential tools and materials needed for success. Together, we’ll unravel the mysteries surrounding faux finishes and transform your walls into works of art. From preparing your walls to step-by-step instructions, I’ll guide you through each stage of the process. Plus, I’ll provide you with invaluable tips and tricks to ensure your faux finishes are nothing short of perfection. So, let’s dive in and demystify the world of faux finishes together!

Choosing the Right Faux Finish Technique
When choosing the right faux finish technique, it is important to consider the desired aesthetic outcome and the level of difficulty one is comfortable with. Two popular techniques to consider are sponge painting and marbleizing. Sponge painting involves using a sponge to create a textured and mottled effect on the walls. It is a versatile technique that can be used to achieve a variety of looks, from subtle and rustic to bold and vibrant. On the other hand, marbleizing techniques mimic the appearance of real marble. This technique involves using a combination of glazes and paint to create the illusion of veining and depth on the surface. It can add a touch of elegance and sophistication to any space. Both techniques require some practice and patience, but with the right tools and techniques, anyone can achieve stunning faux finishes.
Essential Tools and Materials for Faux Finishes
To achieve stunning faux finishes, I rely on a variety of essential tools and materials. Keeping up with faux finish trends is important, as it allows me to stay updated on the latest techniques and materials that are being used. Some of the essential tools and materials that I always have on hand include paintbrushes of various sizes, rollers, painter’s tape, drop cloths, and a good quality primer. Additionally, I make sure to have a selection of faux finish products such as glazes, metallic paints, and texture mediums. When it comes to faux finish maintenance, it is important to properly clean and care for the finished surfaces. This may involve using gentle cleaning products and avoiding abrasive materials that could damage the finish. By having the right tools and materials, I can create beautiful faux finishes and ensure their longevity.
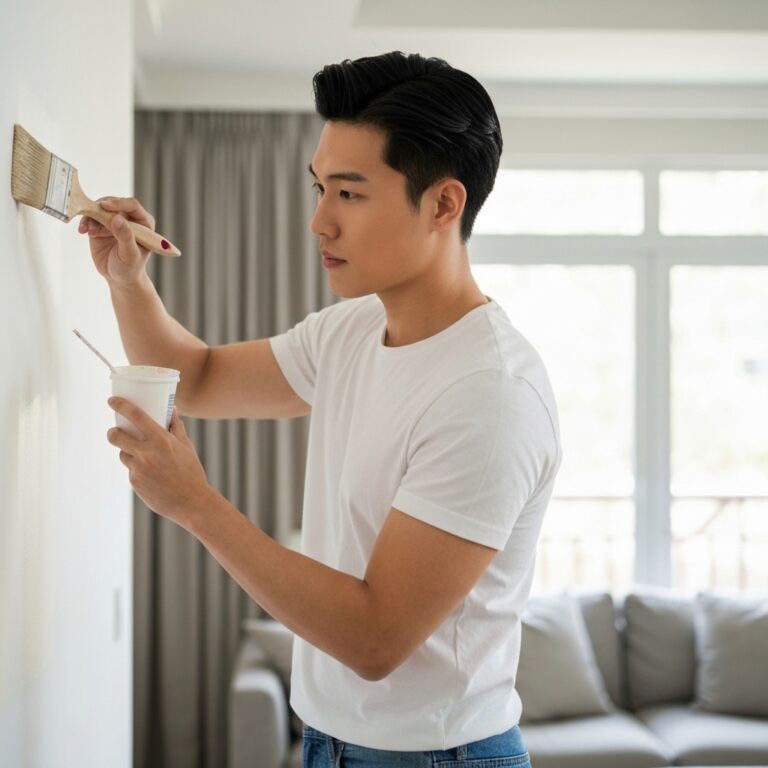
Preparing Your Walls for Faux Finishes
Before applying faux finishes to my walls, I ensure that they are properly prepared by using a subordinating conjunction. First, I start with primer application. This step is crucial as it helps create a smooth and even surface for the faux finish to adhere to. I make sure to choose a primer that is suitable for the type of finish I plan to apply. Next, I inspect the walls for any imperfections or damages that may need surface repair. Whether it’s filling in cracks, patching holes, or fixing uneven areas, I make sure to address these issues before proceeding. Properly preparing the walls ensures that the faux finish will look its best and last longer. So, don’t skip this important step in achieving a professional-looking faux finish on your walls.
Step-by-Step Instructions for Creating Faux Finishes
To begin creating faux finishes, I evaluate the desired effect I want to achieve by considering the color scheme, texture, and overall aesthetic. Color selection for faux finishes is crucial in achieving the desired look. I start by choosing a base color that complements the room’s decor and then select accent colors that will add depth and dimension. It’s important to consider the existing colors in the room and how they will interact with the faux finish. Once the colors are chosen, I move on to creating texture with faux finishes. This can be done using techniques such as sponging, ragging, or stippling. Each technique creates a unique texture, so it’s important to experiment and find the one that best suits the desired effect. By carefully selecting colors and creating texture, faux finishes can transform any space into a work of art.
Tips and Tricks for Perfecting Your Faux Finishes
As I continue perfecting my faux finishes, I have discovered a few tips and tricks that have significantly enhanced the overall outcome. One important aspect to consider is faux finish color schemes. It is crucial to choose colors that complement each other and fit the desired aesthetic. Experimenting with different combinations and shades can help achieve the desired effect. Additionally, it is common to encounter certain mistakes when working with faux finishes. One common issue is streaking or uneven coverage. To troubleshoot this, I have found that applying multiple thin layers of paint, allowing each layer to dry thoroughly before applying the next, helps to achieve a more even and smooth finish. Another common mistake is overworking the paint. It is essential to apply the paint in a consistent manner to avoid creating unwanted textures or patterns. By following these tips and tricks, I have been able to perfect my faux finishes and create stunning results.
Conclusion
In conclusion, faux finishes are a fantastic way to add depth and character to your walls. By following the step-by-step instructions and using the right tools and materials, you can easily create stunning faux finishes. Don’t be intimidated, with a little practice and patience, you’ll be able to perfect your techniques and achieve professional-looking results. So go on, unleash your creativity and transform your space with the power of faux finishes – the possibilities are endless!