Welcome to the world of repair, where cracks and peeling paint are no match for my expertise! In this guide, I will show you the art of fixing these common household problems. Like a skilled artist, I will assess the damage, prepare the surface, and choose the perfect repair method. With my trusty tools in hand, I’ll skillfully apply the repair solution, ensuring a seamless finish. But it doesn’t stop there! I’ll also share tips on giving those finishing touches and maintaining the repaired areas for long-lasting results. So, grab your paintbrush and put on your DIY hat because together, we’ll conquer those cracks and peeling paint with finesse! Let’s get started!
Assessing the Damage
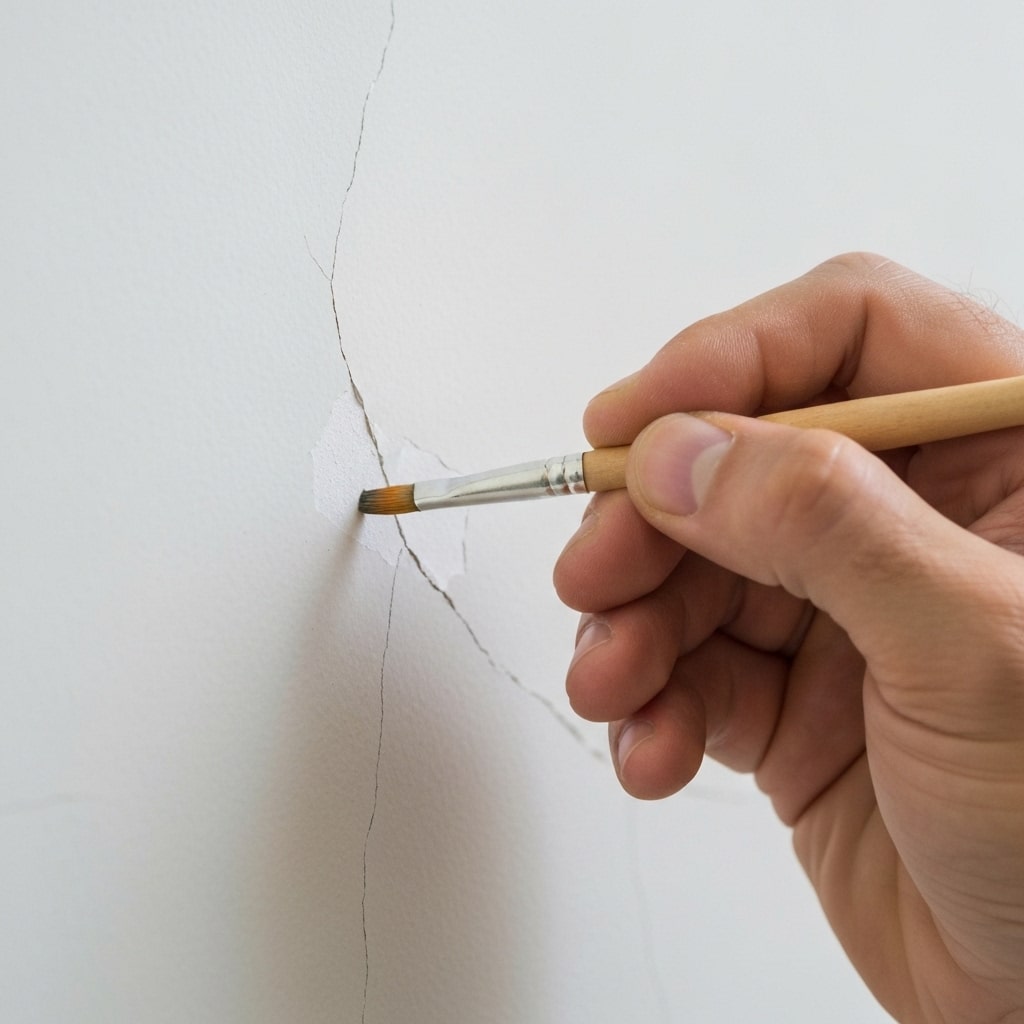
Assessing the damage, I carefully examined the cracks and peeling paint on the walls using a magnifying glass. It was crucial to determine the extent of the problem before proceeding with any repairs. As I inspected each crack, I noted its length, width, and depth. I also paid close attention to the patterns and direction in which the cracks spread. This analysis allowed me to assess the severity of the damage and identify any underlying causes. In some cases, the cracks were a result of structural issues, such as shifting foundations or excessive moisture. In others, it was simply a matter of poor quality materials or improper application. Understanding the root causes was essential to ensure that the repairs would be effective and long-lasting.
Preparing the Surface
After carefully assessing the damage, I began preparing the surface by thoroughly cleaning and removing any loose paint or debris. Surface cleaning is crucial to ensure proper adhesion of the new paint. I wiped down the surface with a damp cloth and mild detergent to remove any dirt, grease, or grime. This step helps to create a clean and smooth canvas for the repair work. Next, I focused on filling cracks. Using a putty knife, I applied a high-quality filler to any visible cracks or holes in the surface. I made sure to fill them completely and smooth out any excess filler. This step is essential to create a seamless and even surface for the paint to adhere to.
Choosing the Right Repair Method
To properly address the damage, I carefully consider the appropriate repair method for fixing cracks and peeling paint. Evaluating alternatives is crucial in determining the most effective approach. There are various methods available, including patching, filling, or sanding the damaged areas. Before making a decision, it’s essential to seek expert advice to ensure the chosen method will provide a lasting solution. Professionals who specialize in home repairs can offer valuable insights and recommendations based on their experience. They can assess the severity of the damage and guide me towards the best course of action. By consulting with experts, I can make an informed decision and choose the right repair method that will not only fix the cracks and peeling paint but also prevent future issues.
Applying the Repair Solution
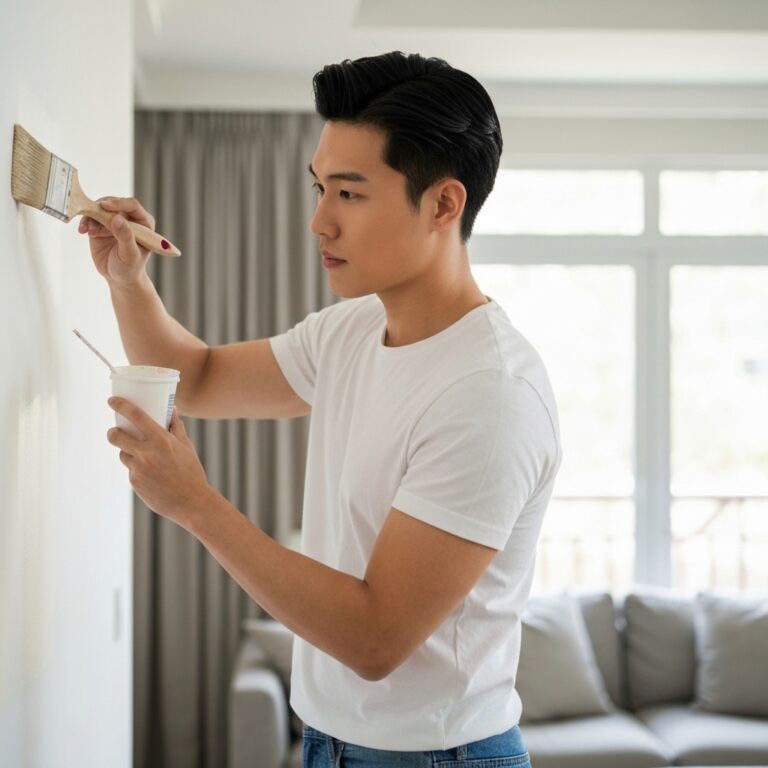
Now that I have chosen the right repair method for fixing cracks and peeling paint, it’s time to apply the solution. To achieve a seamless repair finish, there are a few important tips to keep in mind. First, make sure the surface is clean and free of any debris or loose paint. This will ensure proper adhesion of the repair solution. Additionally, follow the manufacturer’s instructions carefully, including the recommended drying times between coats. Applying too thick of a layer can result in uneven drying and an unsightly finish. Finally, use smooth, even strokes when applying the repair solution to avoid visible brush or roller marks.
When applying the repair solution, it’s crucial to avoid common mistakes that can compromise the quality of the repair. One such mistake is rushing through the application process. Take your time and be patient, allowing each coat to dry fully before adding another. Another mistake to avoid is overworking the solution. Excessive brushing or rolling can cause the repair material to become thin and streaky. Lastly, be mindful of the weather conditions during application. Extremely hot or cold temperatures can affect the drying process and result in an inferior finish. By following these tips and avoiding these common mistakes, you can achieve a seamless repair finish that will leave your walls looking as good as new.
Finishing Touches and Maintenance
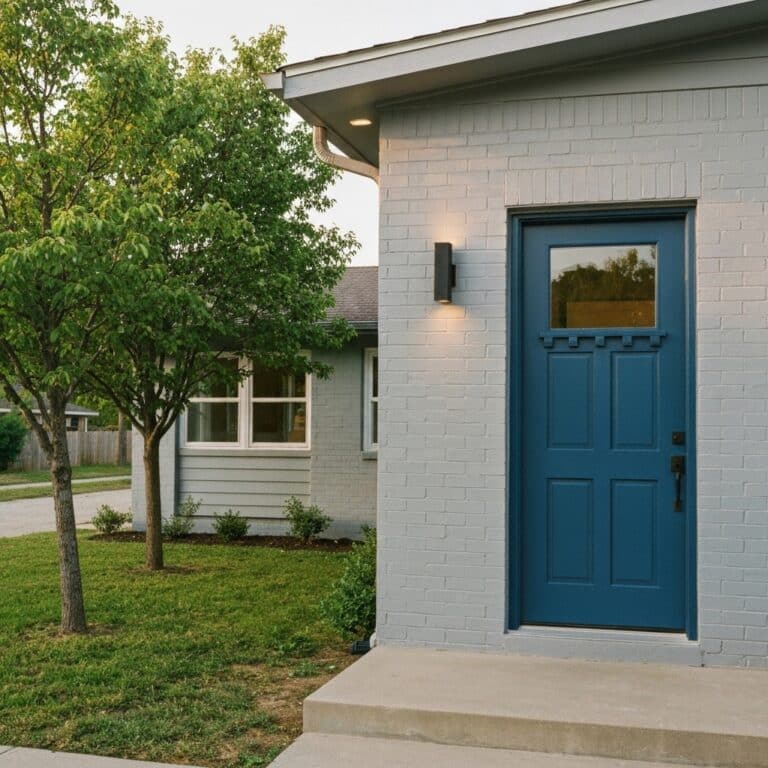
With the surface prepared and the repair solution applied, it’s time to focus on the finishing touches and ongoing maintenance for a long-lasting repair. One important step is to touch up the paint. After the repair has dried, carefully match the color of the repaired area with the surrounding paint. This will help blend the repair seamlessly into the rest of the surface. Touching up the paint not only improves the appearance of the repair but also adds an extra layer of protection against future damage. In addition to touch up paint, it is crucial to take preventive measures to avoid further cracks or peeling. Regularly inspect the repaired area and address any signs of deterioration promptly. This includes maintaining proper ventilation, managing moisture levels, and avoiding excessive temperature fluctuations. By staying proactive, you can ensure the longevity of your repair and prevent future damage.
Conclusion
After assessing the damage, preparing the surface, and choosing the right repair method, it’s time to apply the repair solution. With a little bit of patience and creativity, those cracks and peeling paint will soon be a thing of the past. And don’t forget the finishing touches and maintenance to ensure a long-lasting fix. Embrace the art of repair and transform imperfections into a masterpiece. Happy repairing!